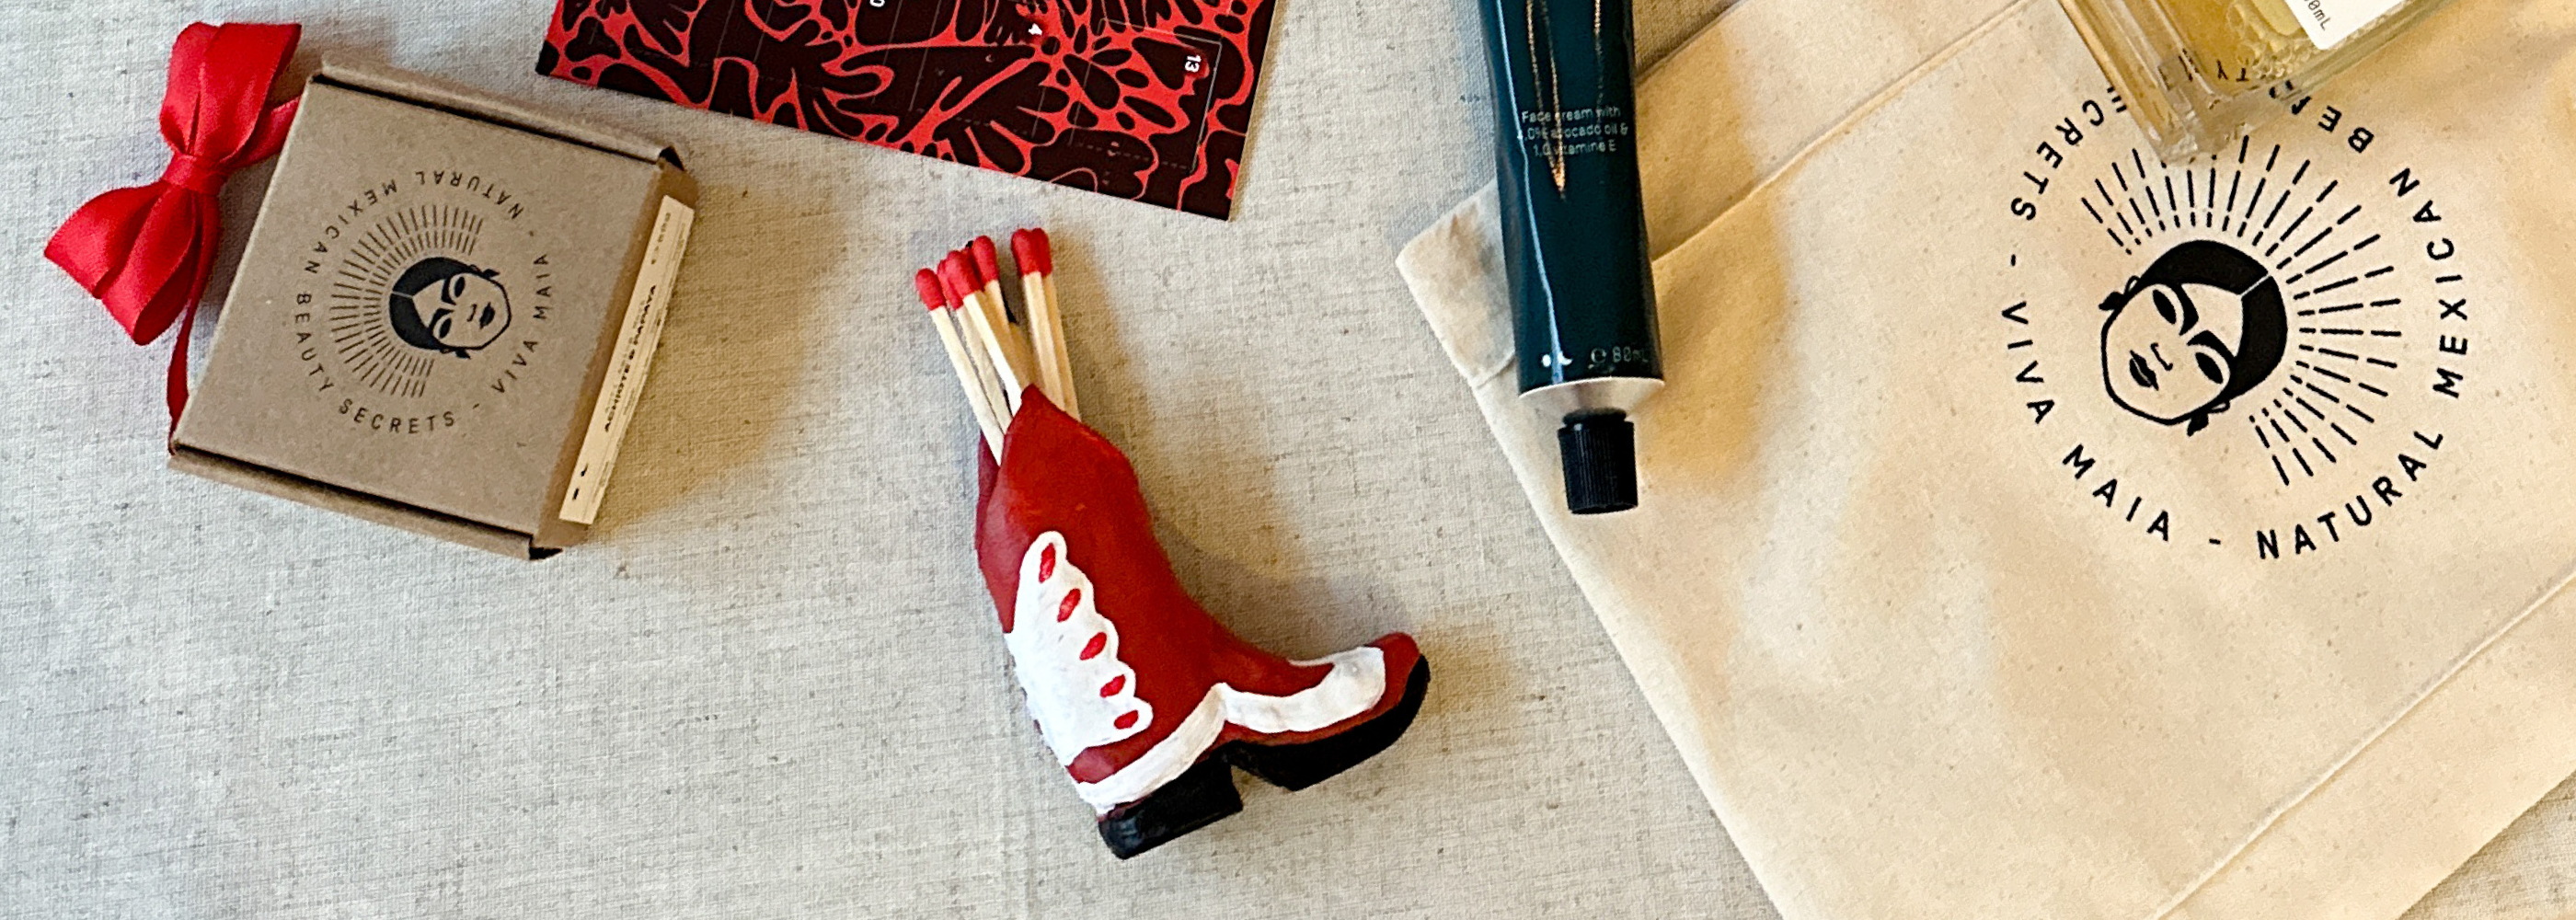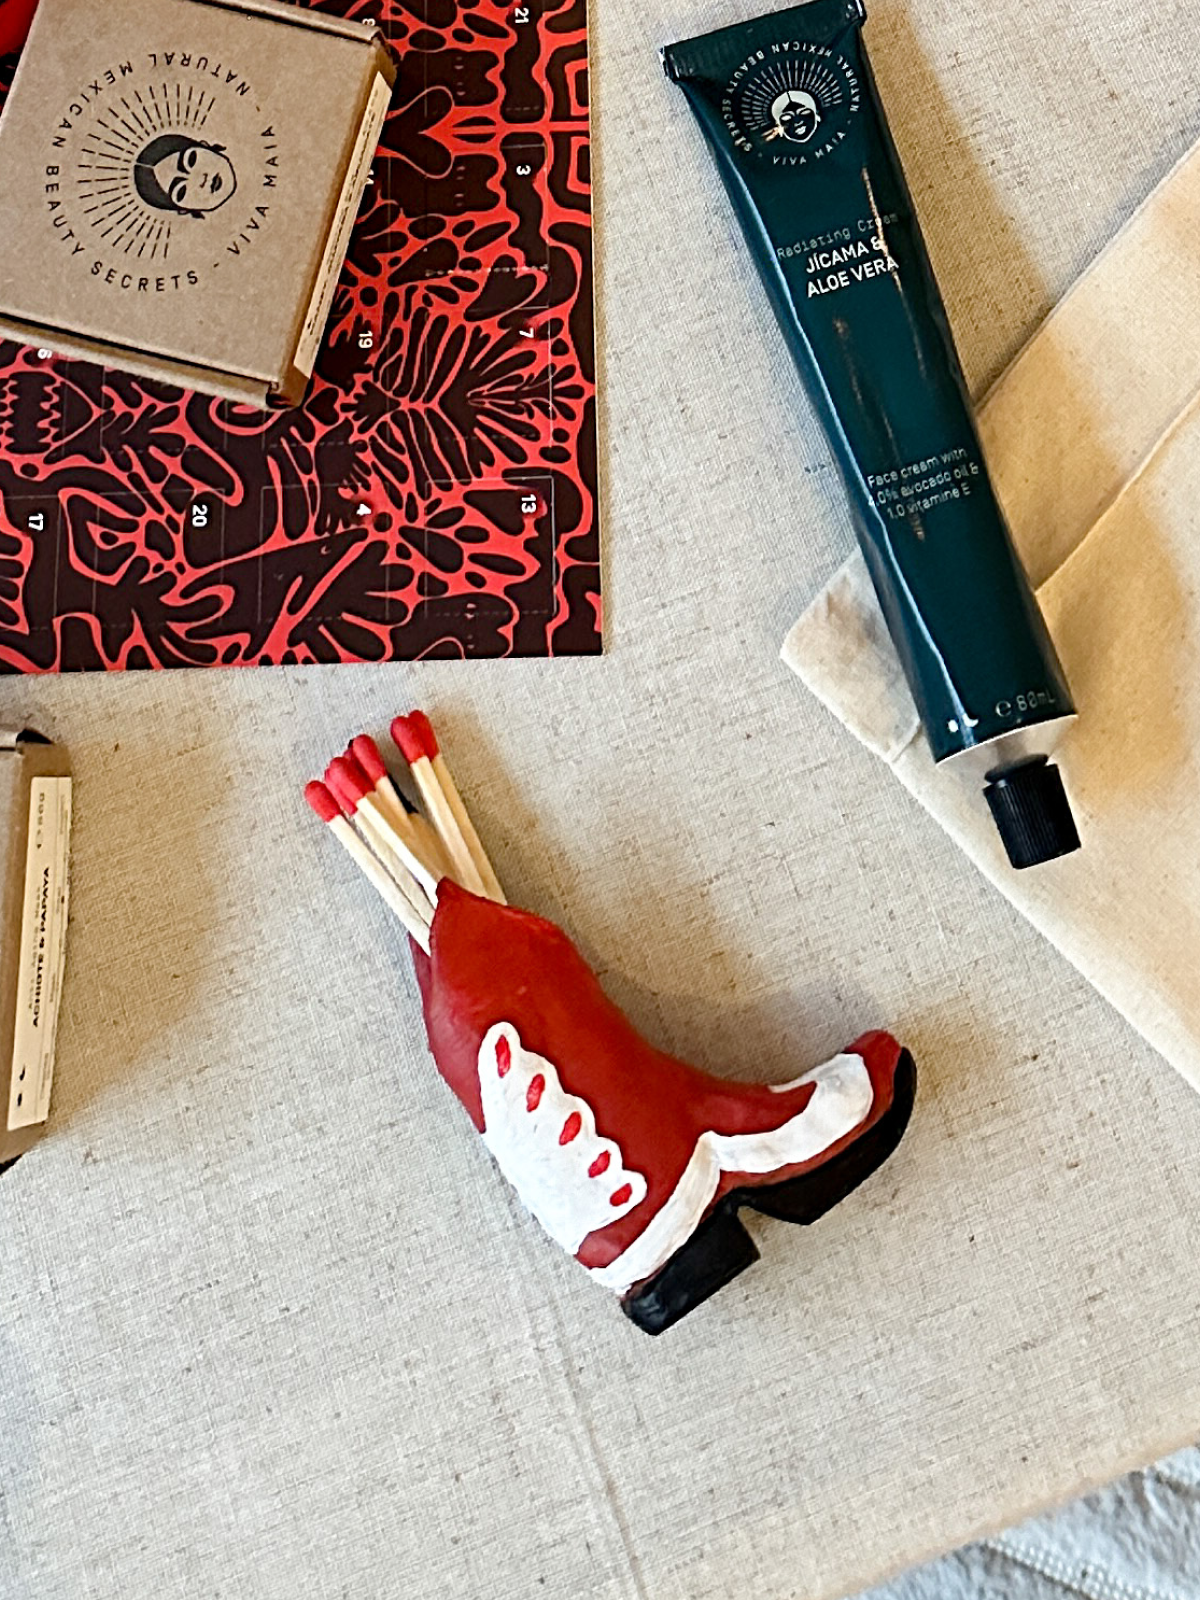

DIY Nikolaus Clay Boot
Get creative this Nikolaus Day by crafting a charming clay boot that doubles as a practical matchstick holder!
A Festive Clay Boot
These adorable clay boots are a perfect little treat for Nikolaus Day, adding a touch of festive charm! Not only are they great for holding small surprises, but they also make a wonderful and unique Christmas gift. Practical, decorative, and full of holiday spirit!

Step-by-Step Instructions
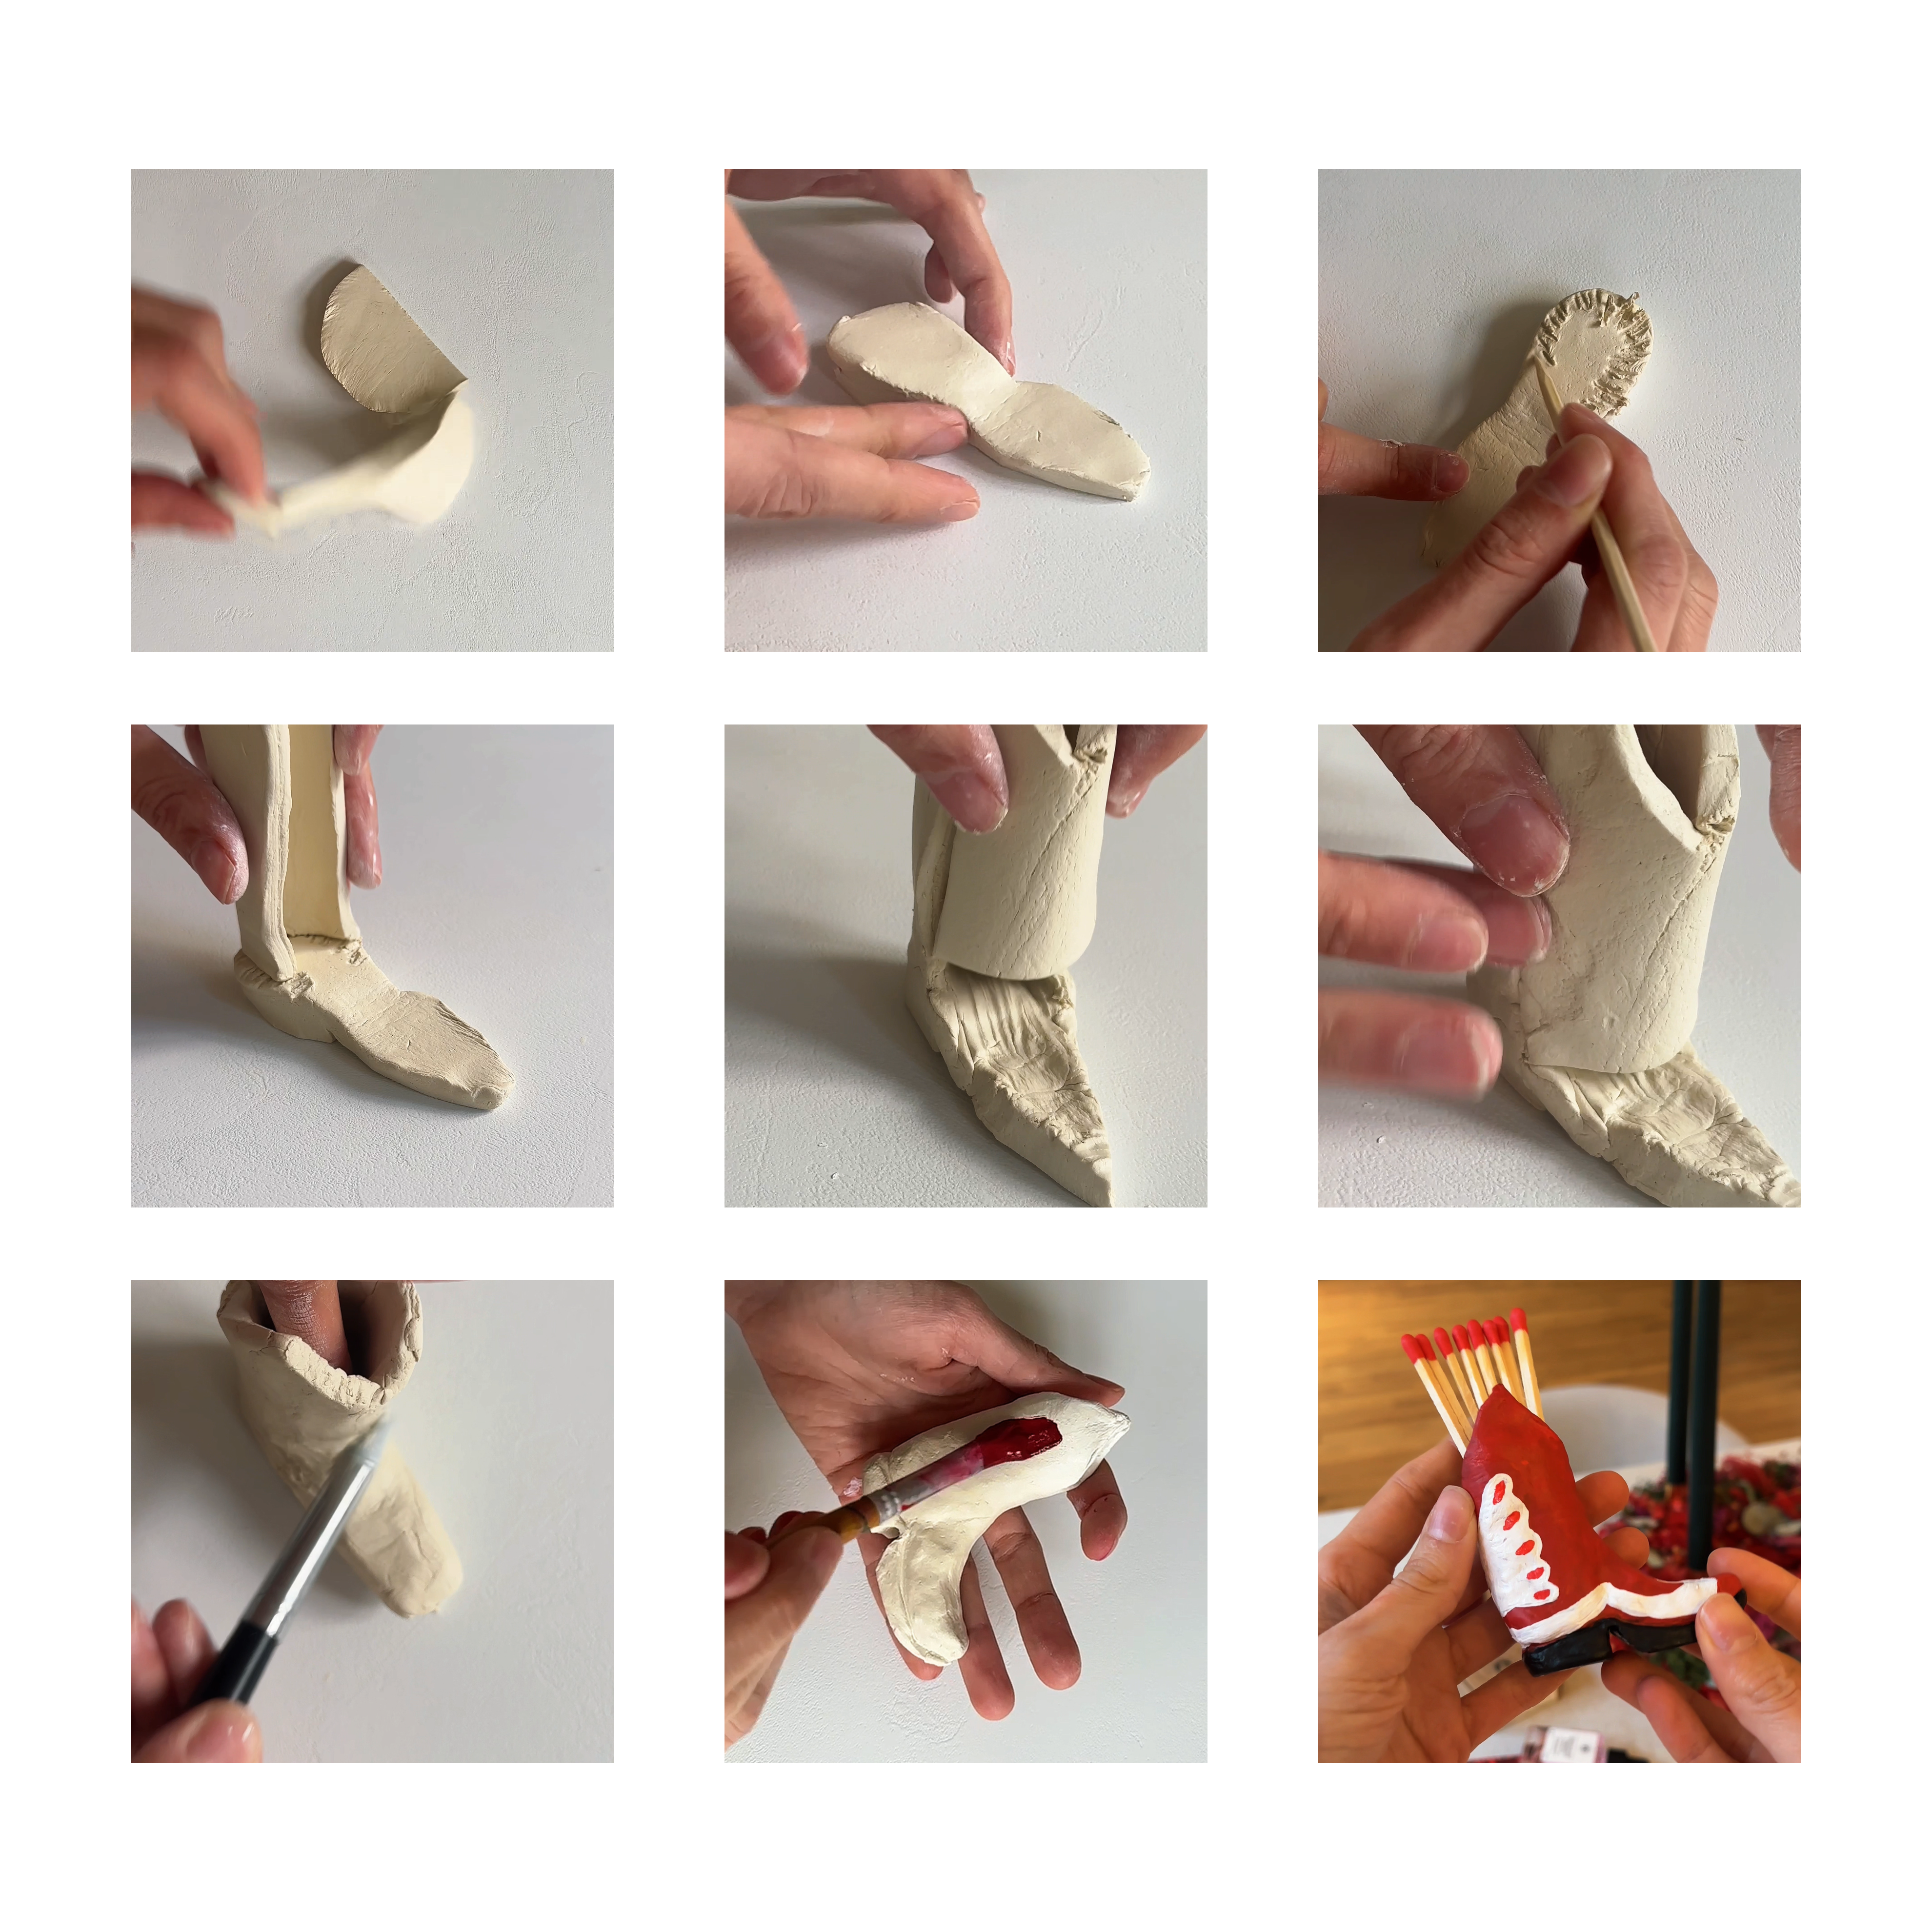
- Cut the Boot Shape: Roll out air-dry clay and cut out the basic shapes for the sole and the sides of the boot.
- Assemble the Sole and Side: Attach one side of the boot to the sole by pressing the edges together gently.
- Add Texture to the Sole: Use a sculpting tool or your fingers to create texture and details on the sole to mimic a real boot’s rugged base.
- Build the Boot Upper: Attach the second side of the boot to the other edge of the sole to form the upper part of the boot. Smooth out the joints with water or your fingers.
- Refine the Shape: Adjust the boot’s overall shape, ensuring the sides are even and the top is rounded with an open edge to hold matchsticks.
- Add Decorative Details: Sculpt stitching lines, patterns, or a fuzzy cuff at the top of the boot for added flair.
- Smooth the Surface: Use a brush and water to smooth out any imperfections and refine the boot’s texture. Let the boot dry completely as per the clay manufacturer’s instructions.
- Paint the Boot: Once the clay is dry, paint the boot in festive colors like red, white, and black. Highlight details such as stitching or add a decorative pattern.
- Add Matches: Once the paint is fully dry, fill the boot with matchsticks for a functional and festive piece. Add a striking pad to the side or bottom if desired.
What You’ll Need:
- Air-dry clay
- Sculpting tools (knife, shaping tools, or a paintbrush)
- Paint (red, white, black, gold, or other festive colors)
- Paintbrushes
- Matchsticks
Scientifically Validated
Our skincare is underpinned by scientific research conducted in Mexico and Germany.
Harmony with Nature
Crafted with premium vegan ingredients, our products are never tested on animals.
Climate-Neutral Philosophy
From production to delivery, our entire supply chain is CO2 neutral, utilizing local ingredients.
Social Responsibility
We support local farmers and provide young Mexicans with opportunities for a brighter future.
